Folder Slice Folder Groups and Auto Switching
Introduction
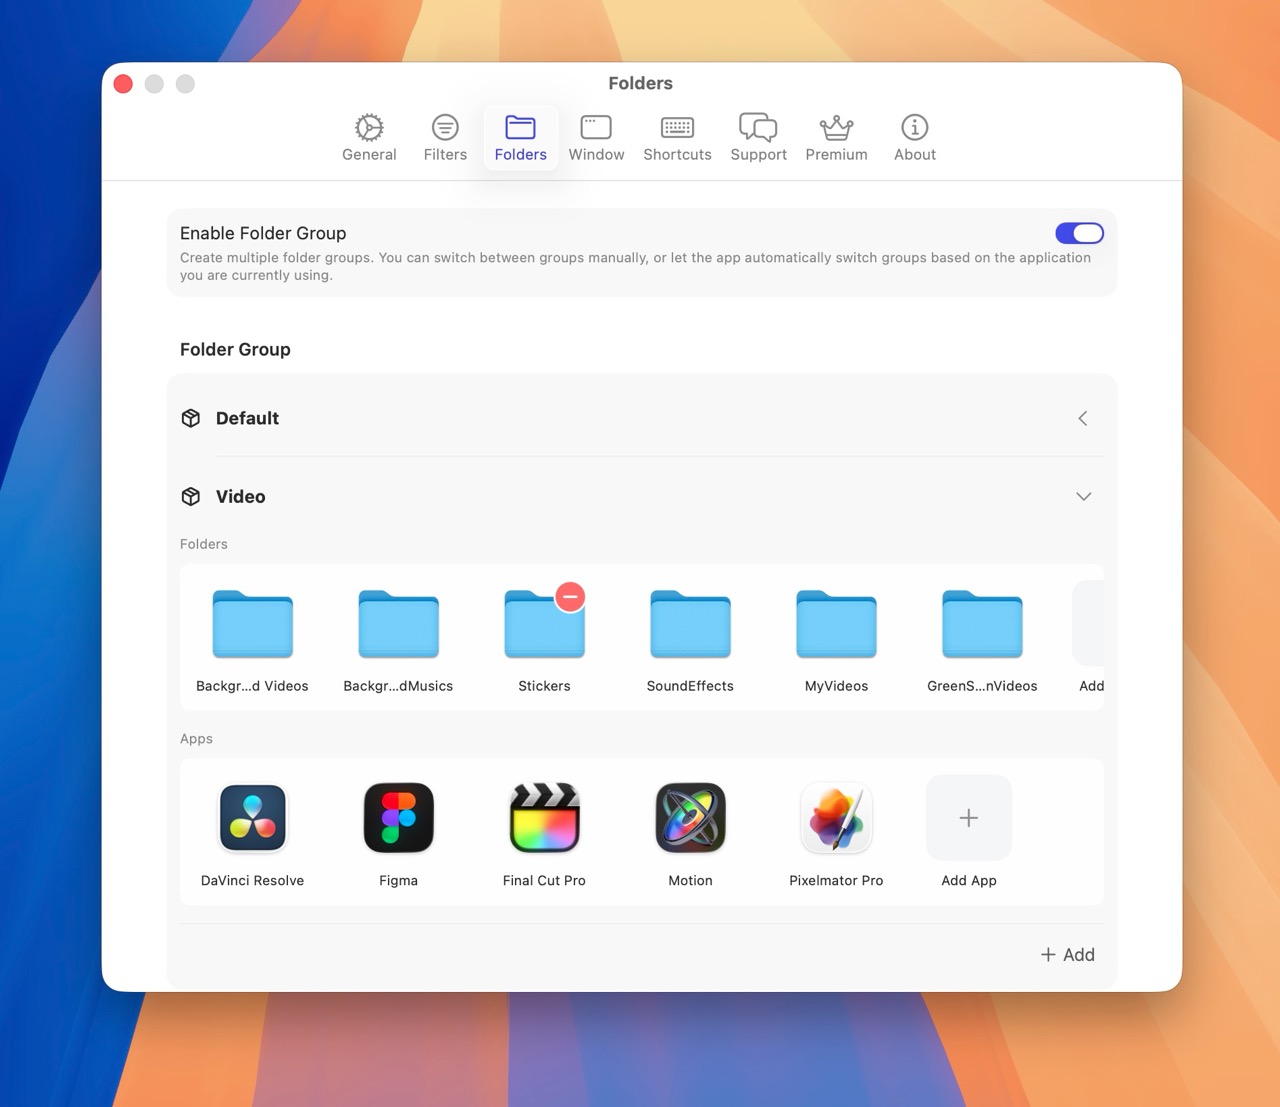
Folder Slice introduced the folder group feature in v1.7.0, allowing users to create multiple folder groups for better organization and management of different types of folders。
You can also assign specific apps to each folder group. When you use a linked app, Folder Slice automatically switches to the corresponding folder group, streamlining your workflow。
Enabling Folder Groups
To enable folder groups:
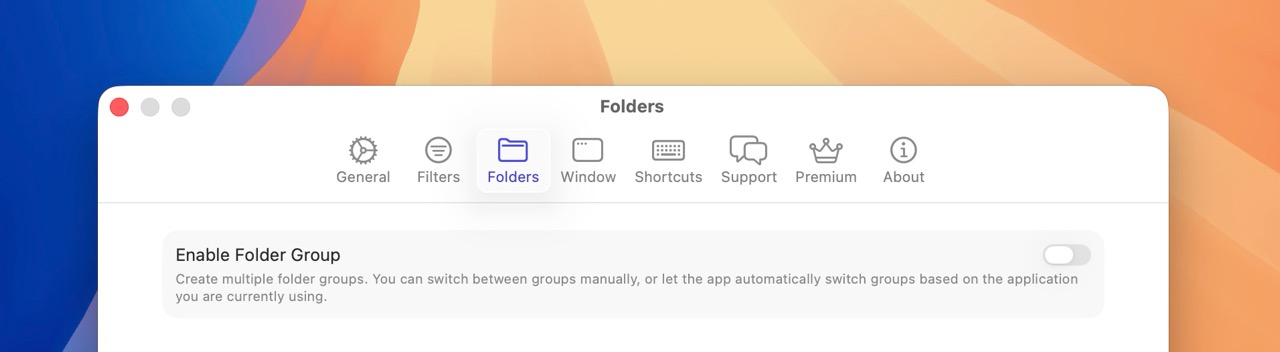
- Open Folder Slice and go to Settings > Folders。
- Find the “Enable Folder Groups” option and turn it on。
Creating a Folder Group
- Click the “Add” button in the bottom right to create a new folder group。
- Enter a name for your folder group in the dialog。
- Click “Create” to finish。
Adding Folders to a Group
- Select an existing folder group。
- In the group’s folder list, click “Add Folder。”
- Choose the folder you want to add and click “Add。”
- Repeat as needed to add all relevant folders to the group。
Linking Apps for Auto Switching
- Select a folder group。
- In the app list section, click “Add App。”
- Choose the app you want to link and click “Add。”
- Repeat to link all necessary apps to the folder group。
Using Auto Switching
When you open a linked app, Folder Slice automatically switches to the associated folder group, making it easy to access related folders。
For example, if you link the “Editing” folder group to Final Cut Pro, Folder Slice will auto-switch to the “Editing” group whenever you’re using Final Cut Pro。
If you open an app that isn’t linked to any folder group, Folder Slice will switch to the first folder group by default。
Removing Folders from a Group
- Select a folder group。
- In the group’s folder list, click the “Remove” icon on the folder you want to delete。
- Confirm in the popup to remove the folder from the group。
Removing Linked Apps
- Select a folder group。
- In the app list, click the “Remove” icon on the app you want to unlink。
- Confirm in the popup to remove the app from the group。
Deleting a Folder Group
- In the folder group list, right-click the group you want to delete。
- Select “Delete Folder Group。”
- Confirm in the popup to delete the group。
Editing a Folder Group Name
- In the folder group list, right-click the group you want to rename。
- Select “Edit Folder Group Name。”
- Enter the new name in the dialog。
- Click “Save” to update the group name。